Identity Integration with Auth0, Part 1 – Tenants, Users, and Social
Identity Integration with Auth0, Part 1 – Tenants, Users, and Social
These days there are a lot of tools and services which can be used to supply identity-related information in the cloud. For example, some of the most common providers are: Azure AD, Microsoft Account, Apple ID, Facebook Identity, Google Sign-In, Twitter Login, GitHub…plus a plethora of others! Determining which of these to support can be a daunting task, to say nothing about implementing the code required to integrate them into your apps.
It seems impossible…or is it?
Enter Auth0. This wonderful service provides an API which supports all the above and makes it possible to integrate them in a consistent manner without needing to drill into the depths of how each one is implemented. There is some coding involved get into some of the more advanced features, but in this blog, you’ll focus on getting started with the basics to demonstrate how Auth0 works. Follow along to walkthrough the setup and see the screenshots for guidance.
TENANT SETUP
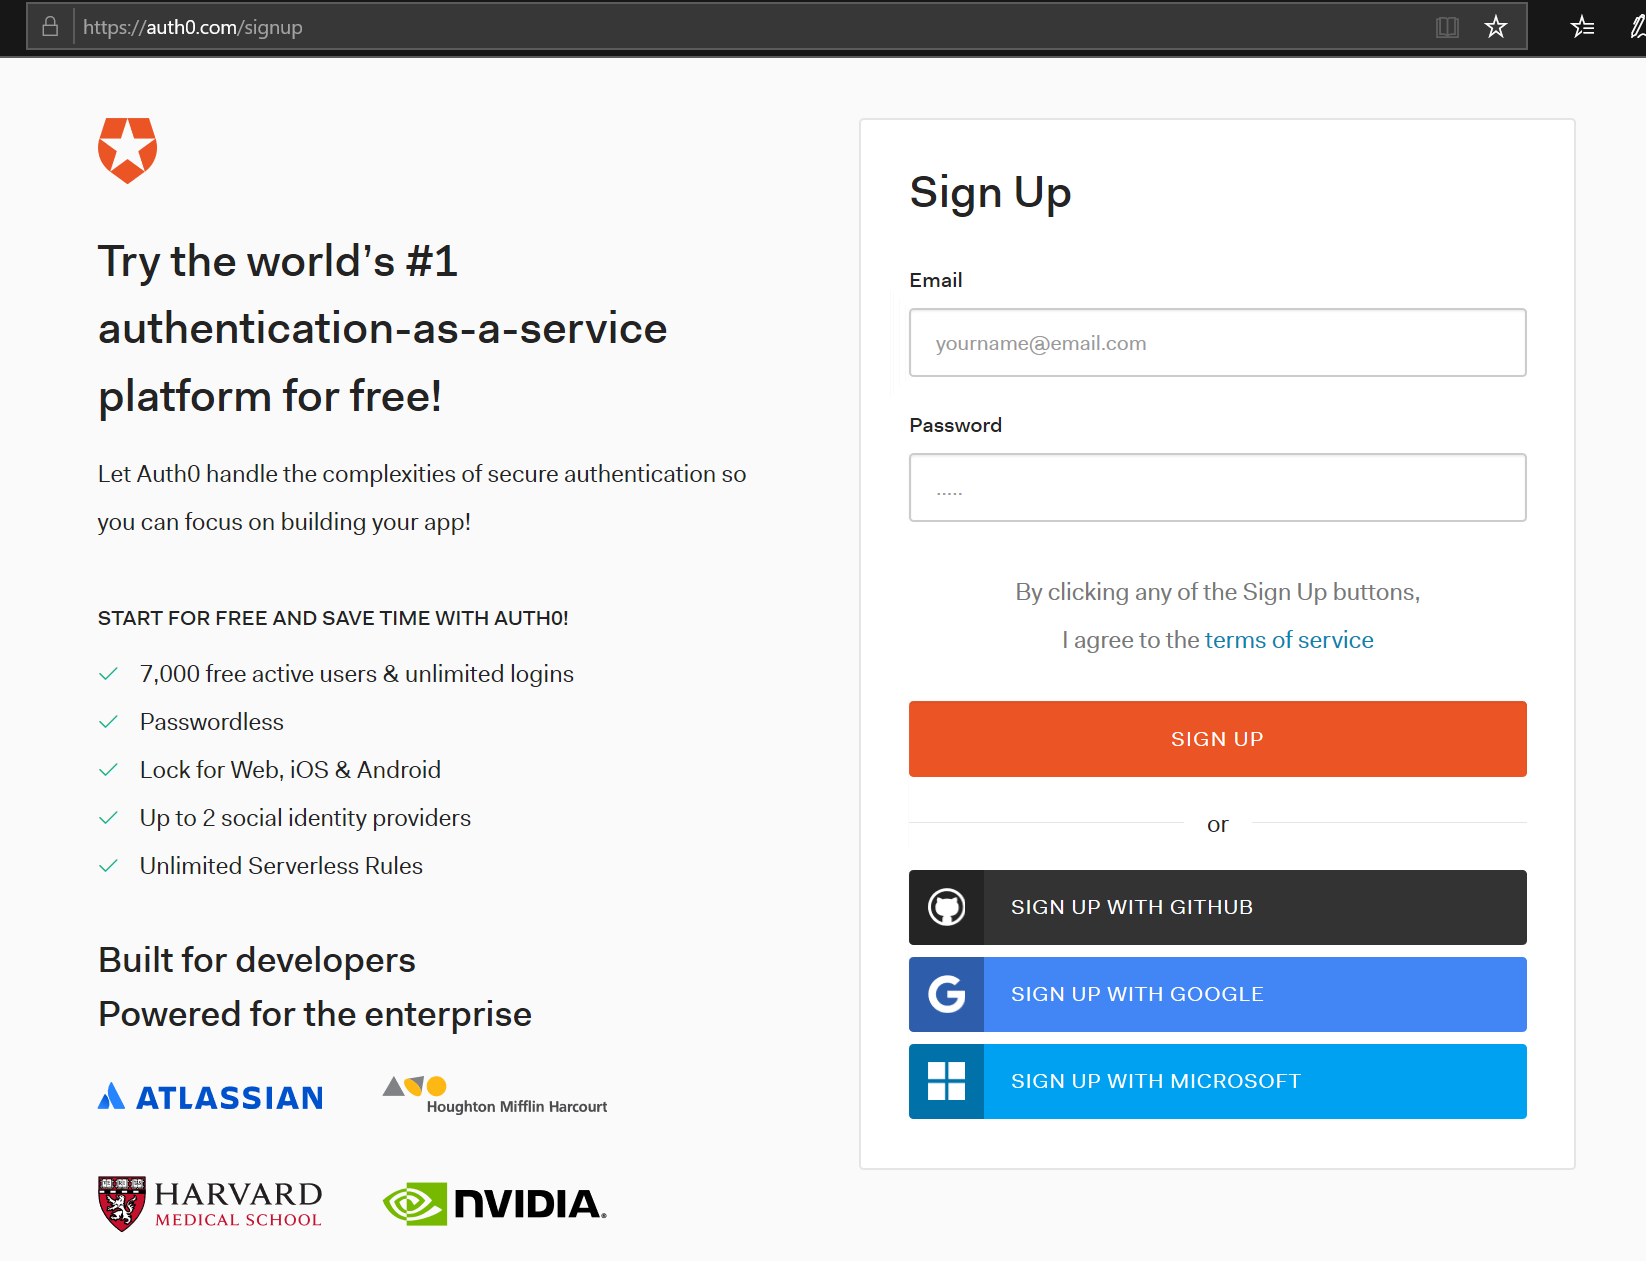
Signup for a free tenant at: https://auth0.com/signup. You’ll get a confirmation email, and then you can login. This gives you 21 days to try all features, but beyond that you’ll only be able to use free features or will need to jump to a paid tier.
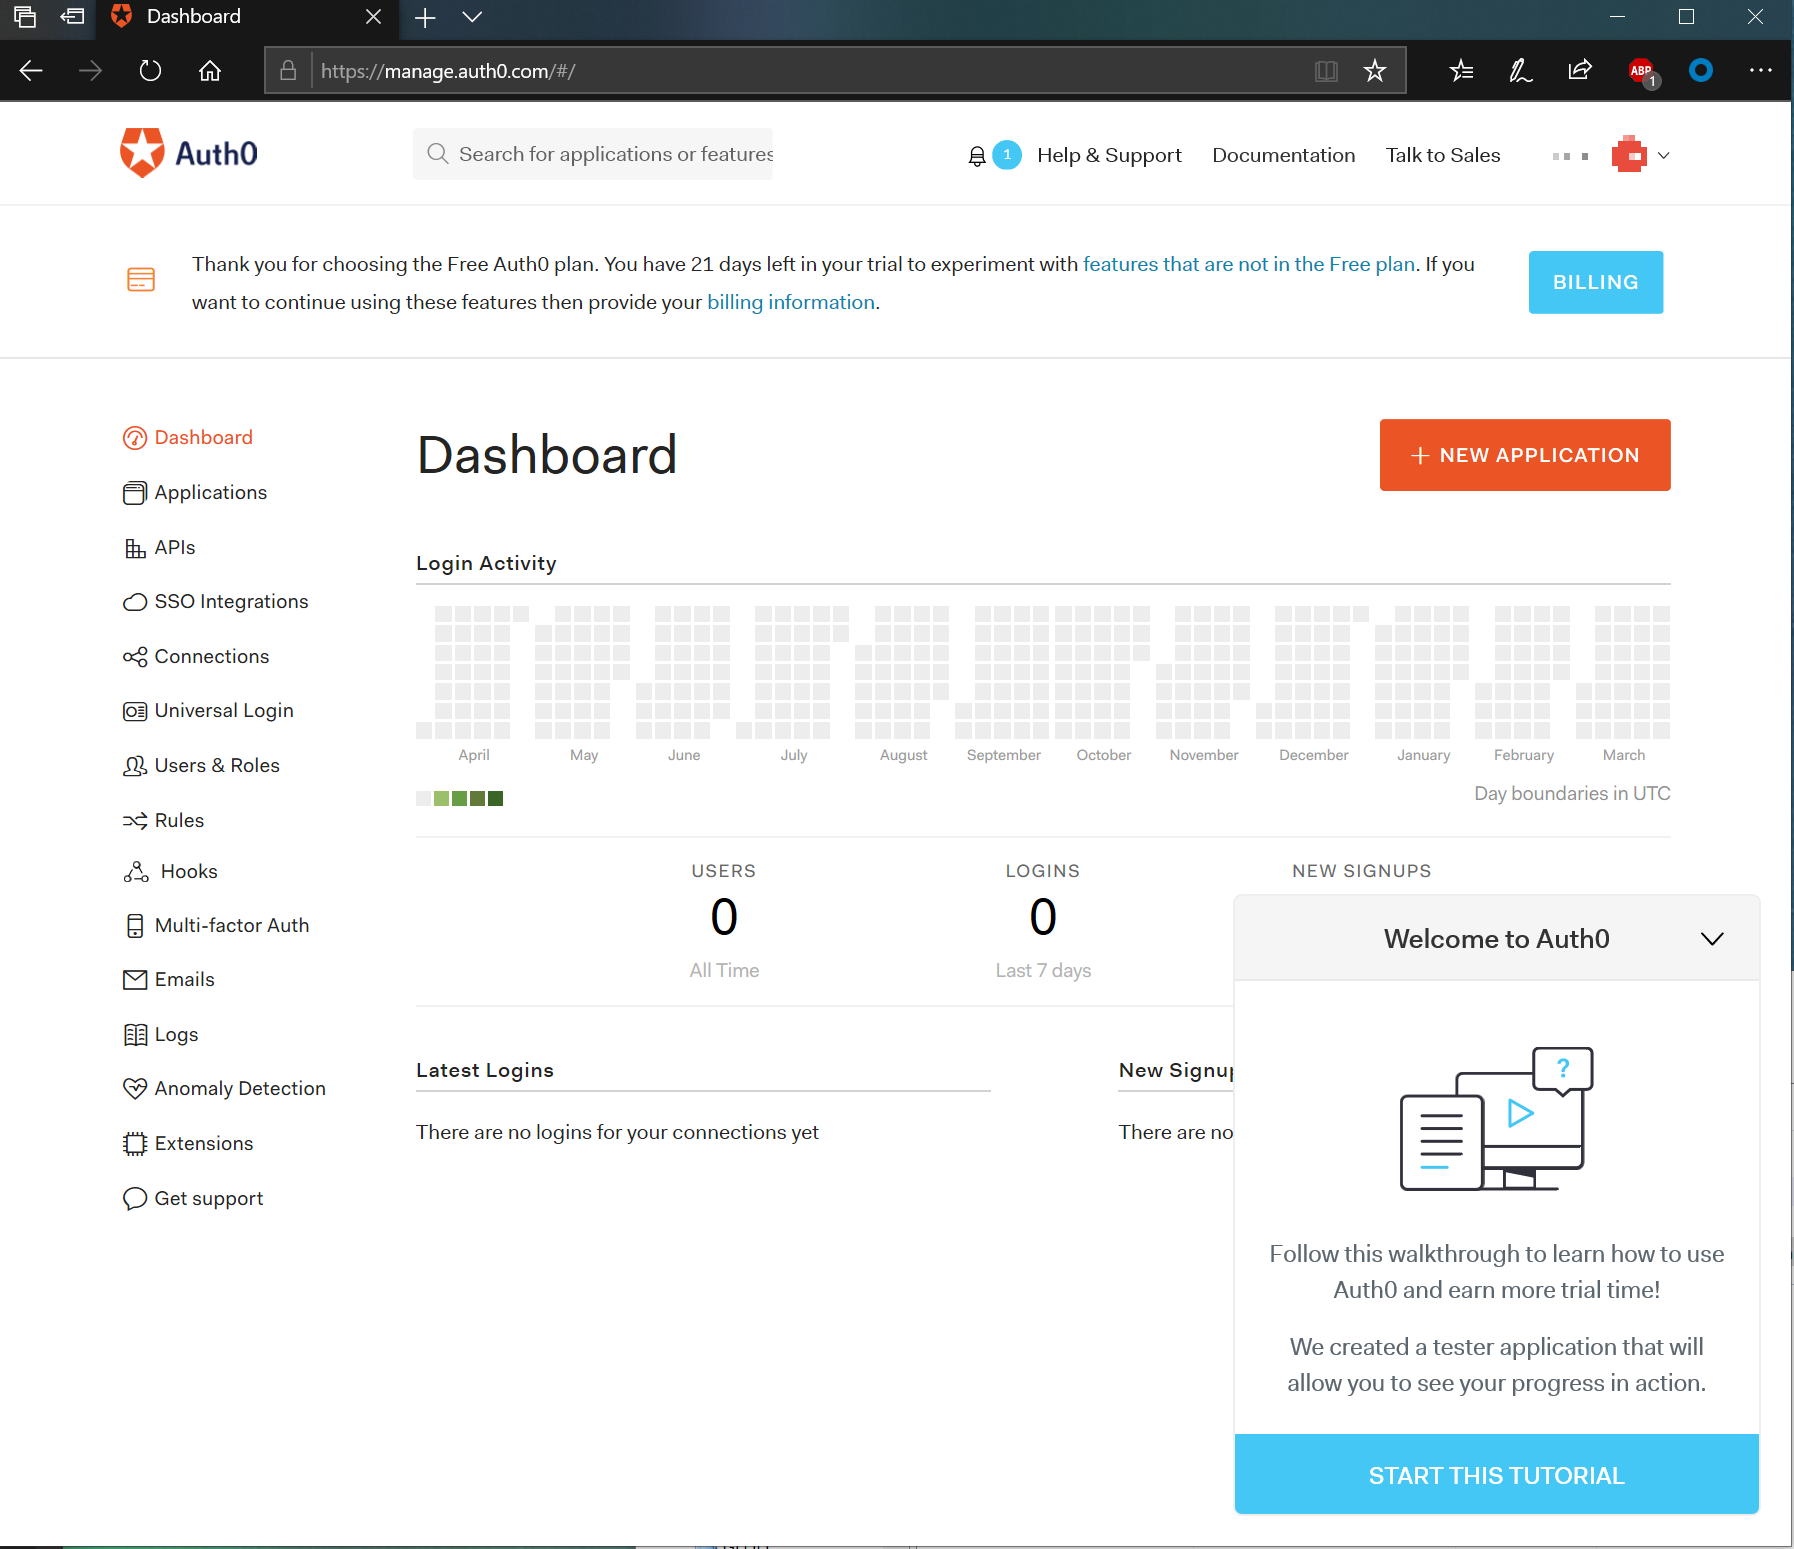
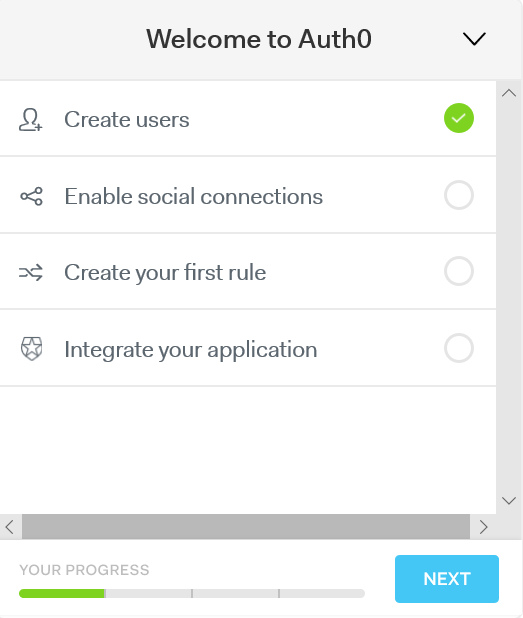
It takes you to the main dashboard and provides a tutorial to get started, which is what you’ll step through here.
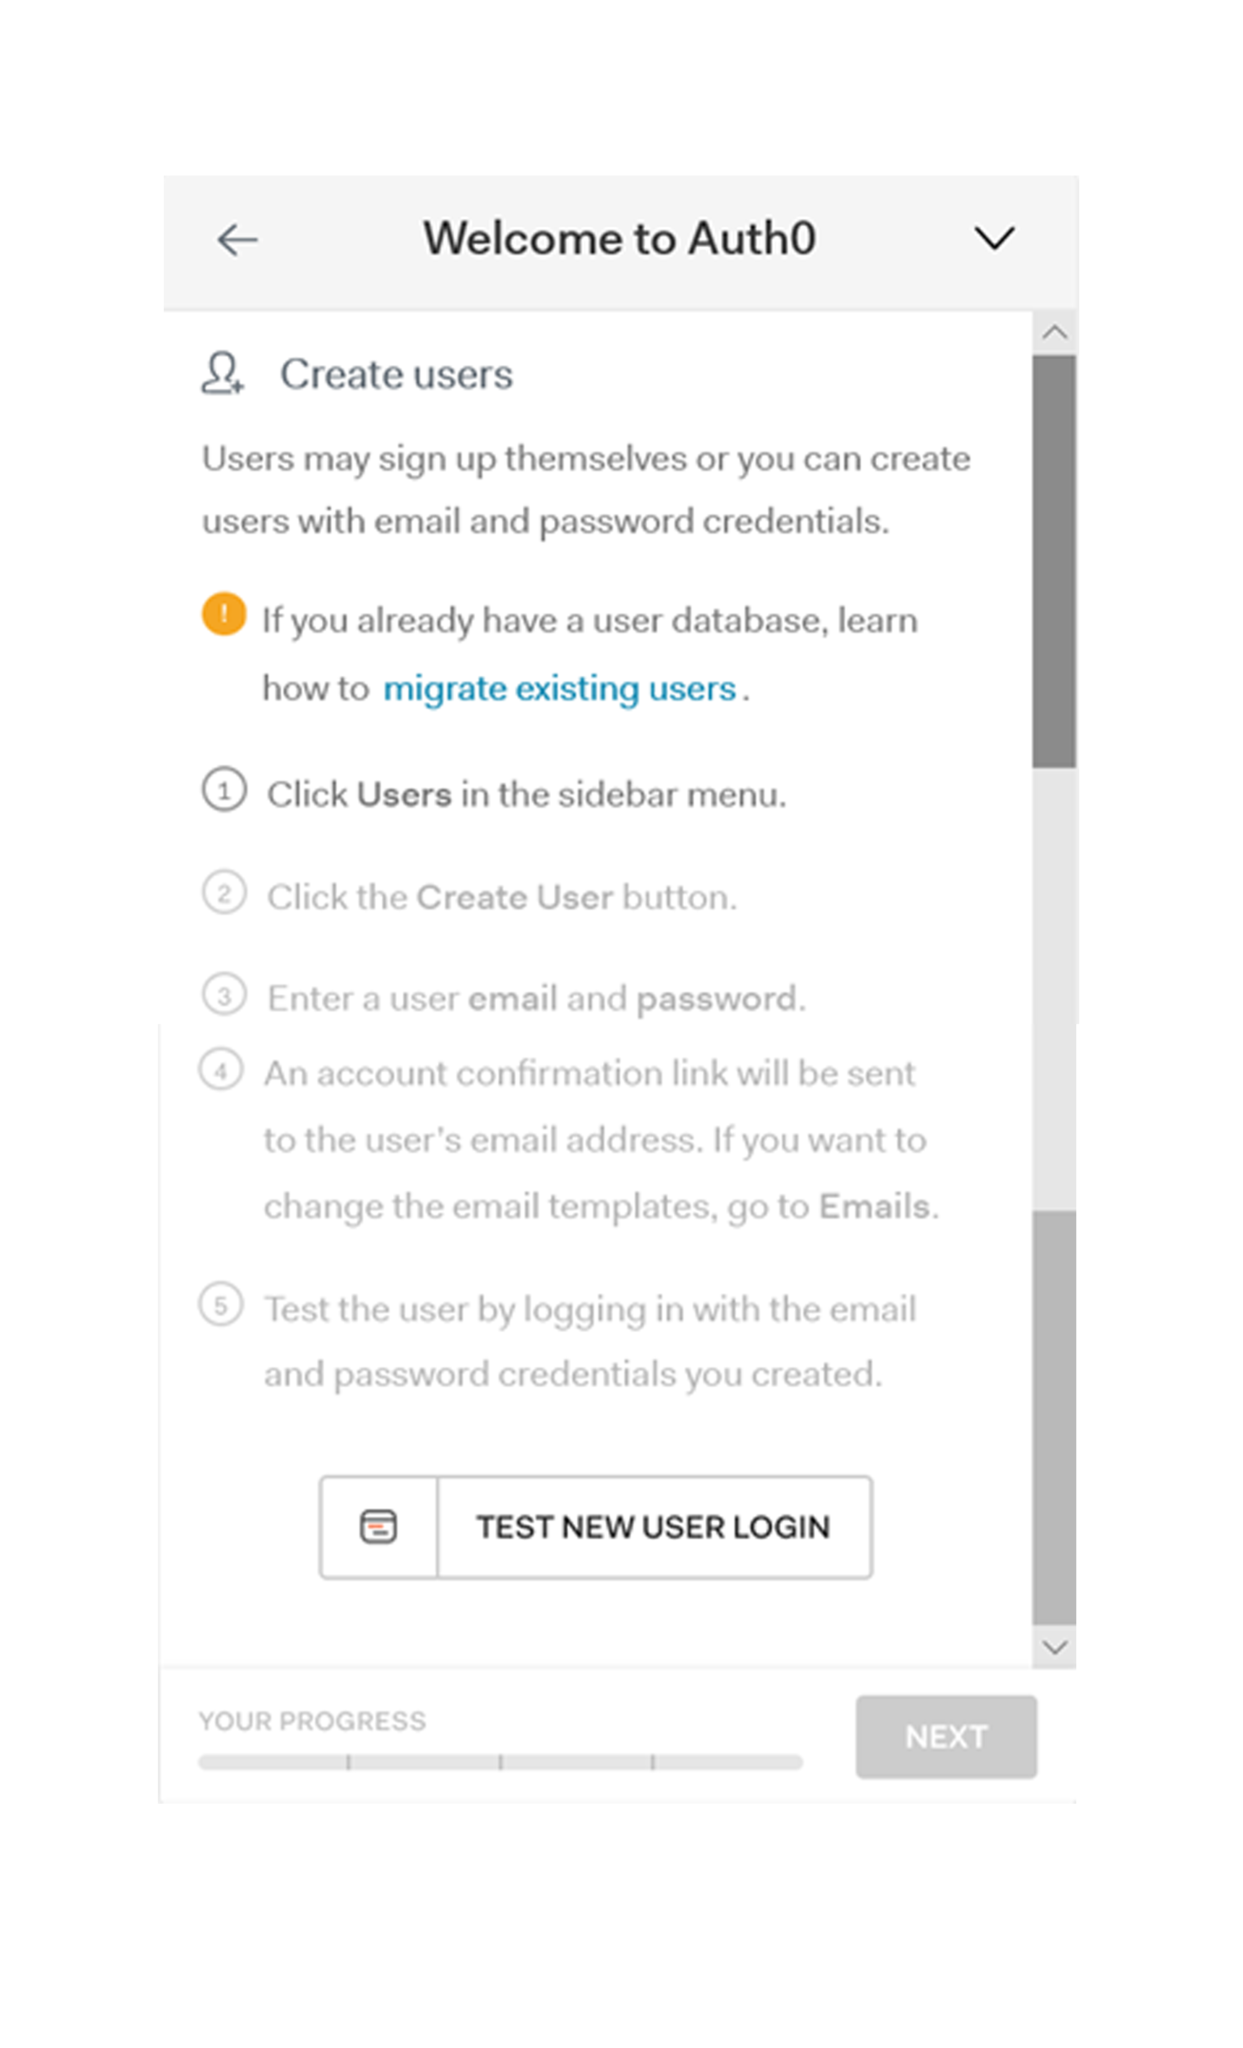
Create Users
You can import/export existing user sets or create them manually from within the portal.
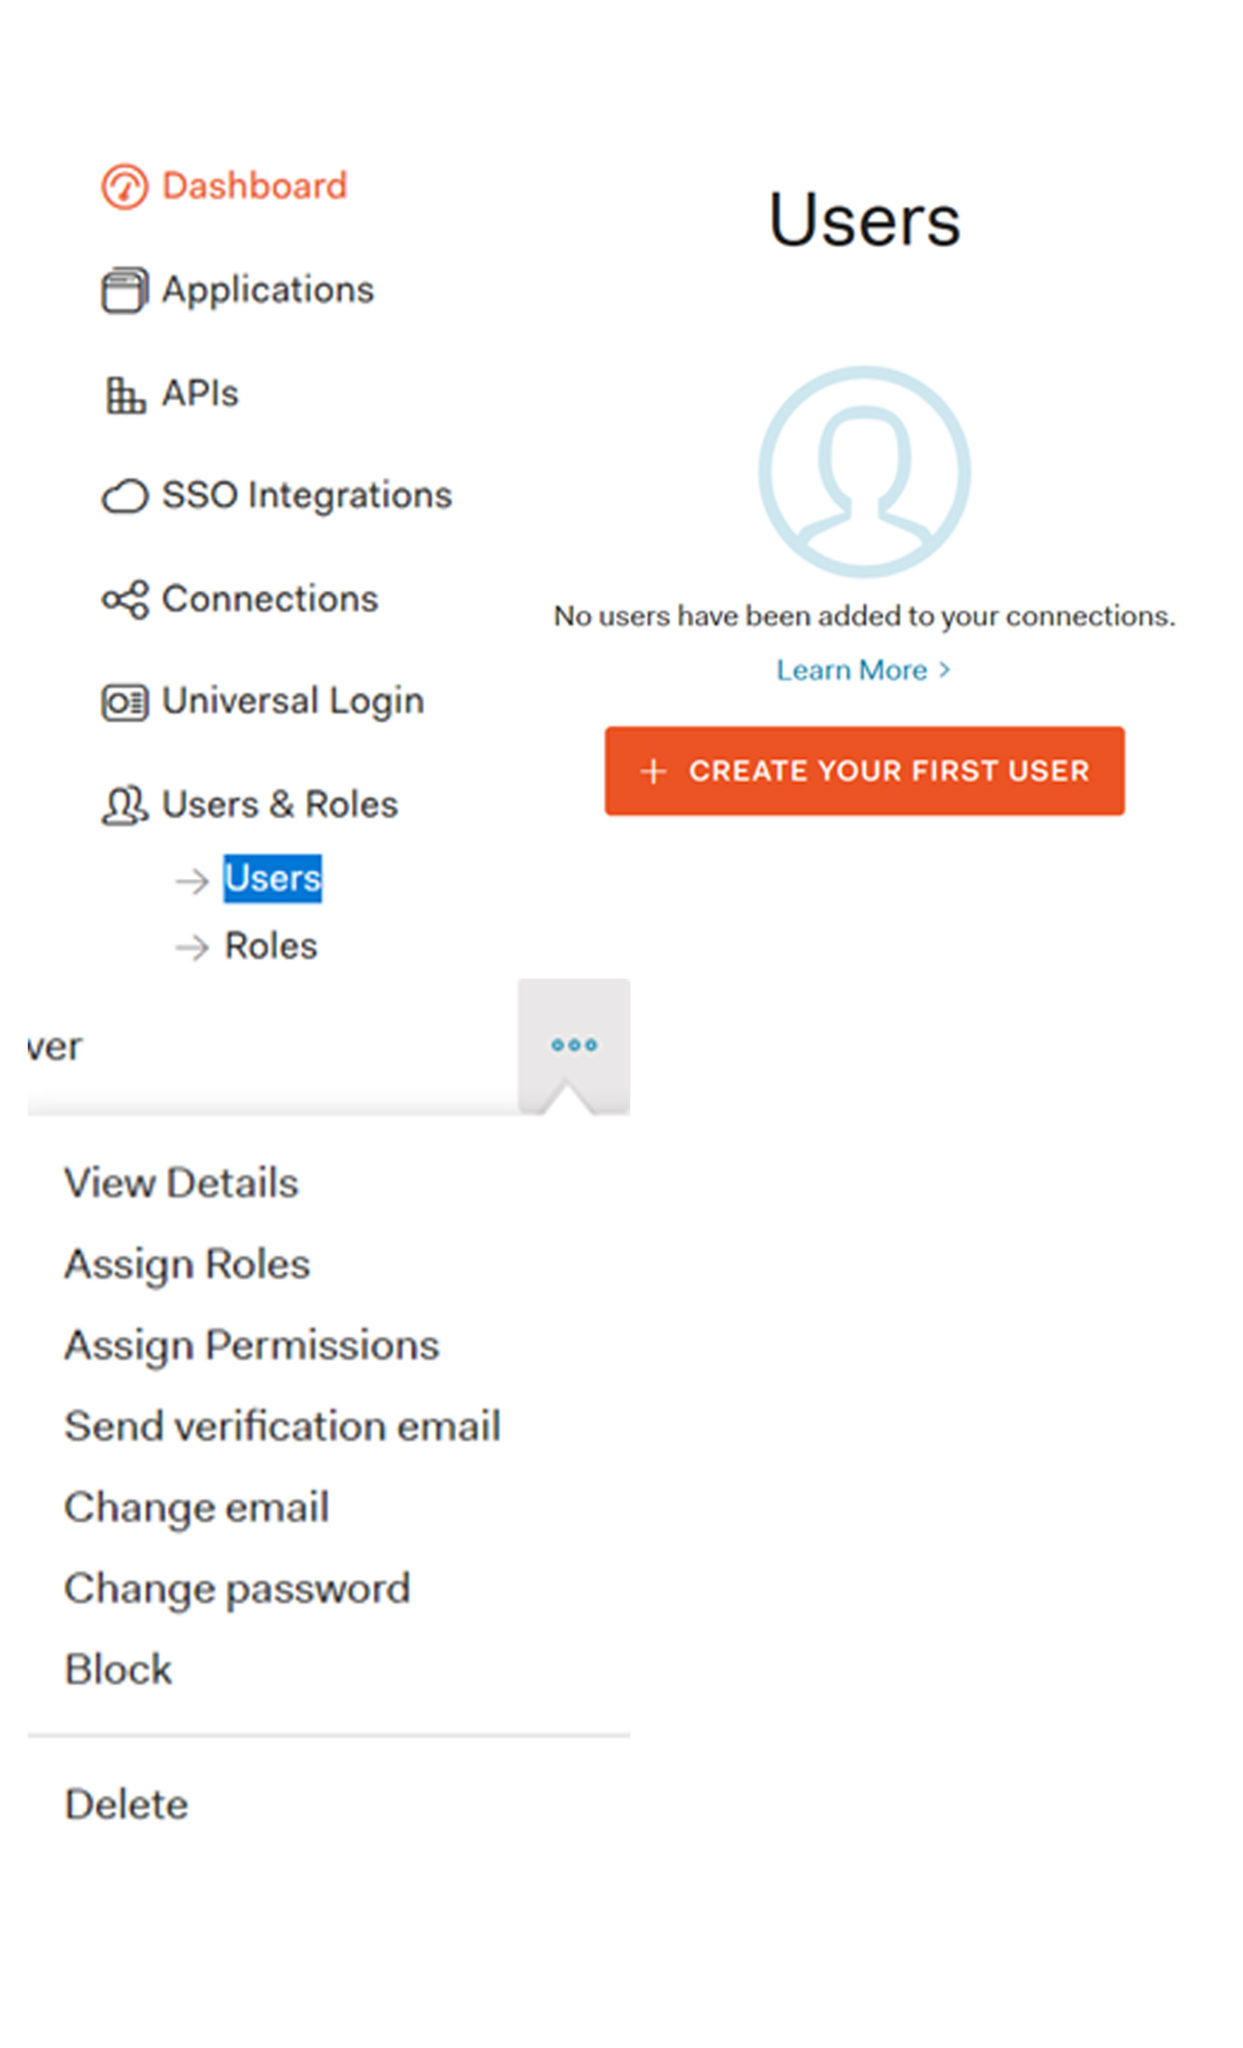
Method: Manual Creation
Create a user manually and invite them into the tenant. What this means is you create a “reference profile” of that user, who actually exists in some external directory. For example, you can create one from your Office 365 tenant, another account from Gmail, a third from Facebook, etc. The user you invite will get a confirmation email for verification. Reference: User Profiles.
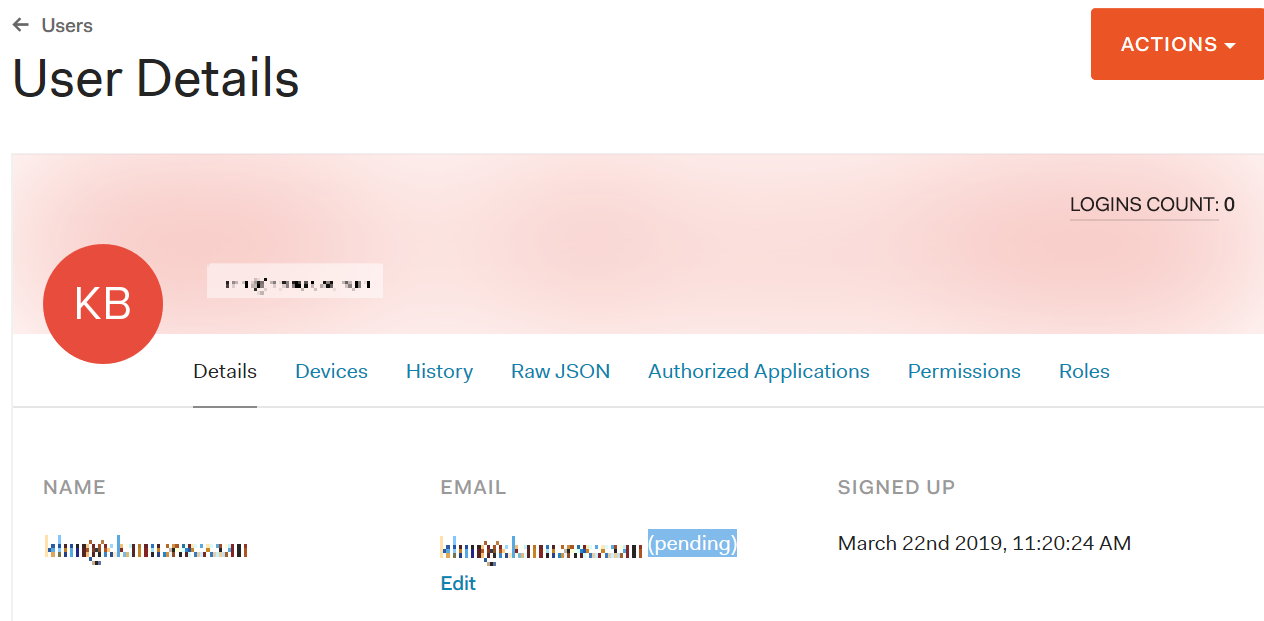
You can do all the things you’d normally expect with a user account, such as granting permissions, assigning roles, and adding/revoking access.
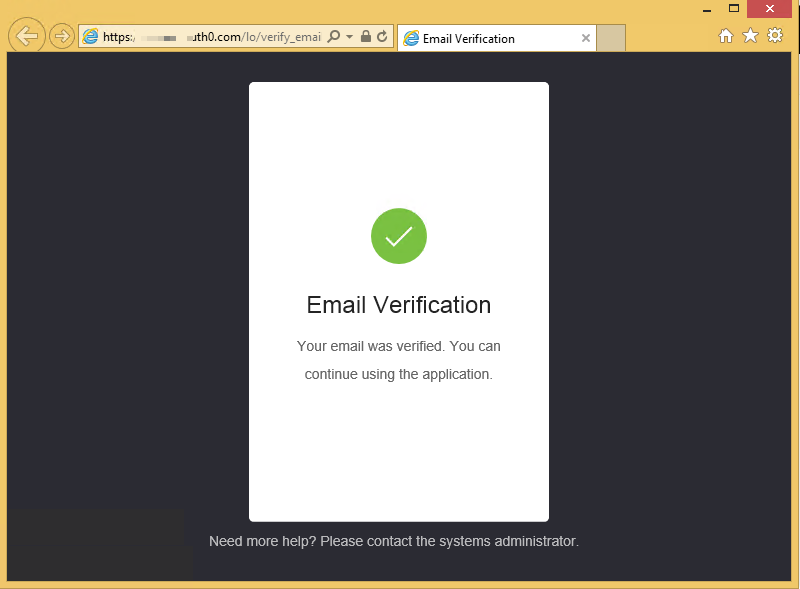
The user’s status will change from Pending to Verified. If for some reason you can’t send/receive the verification email, the admin can click the Edit button and manually “Set as Verified” to activate the user without requiring confirmation.

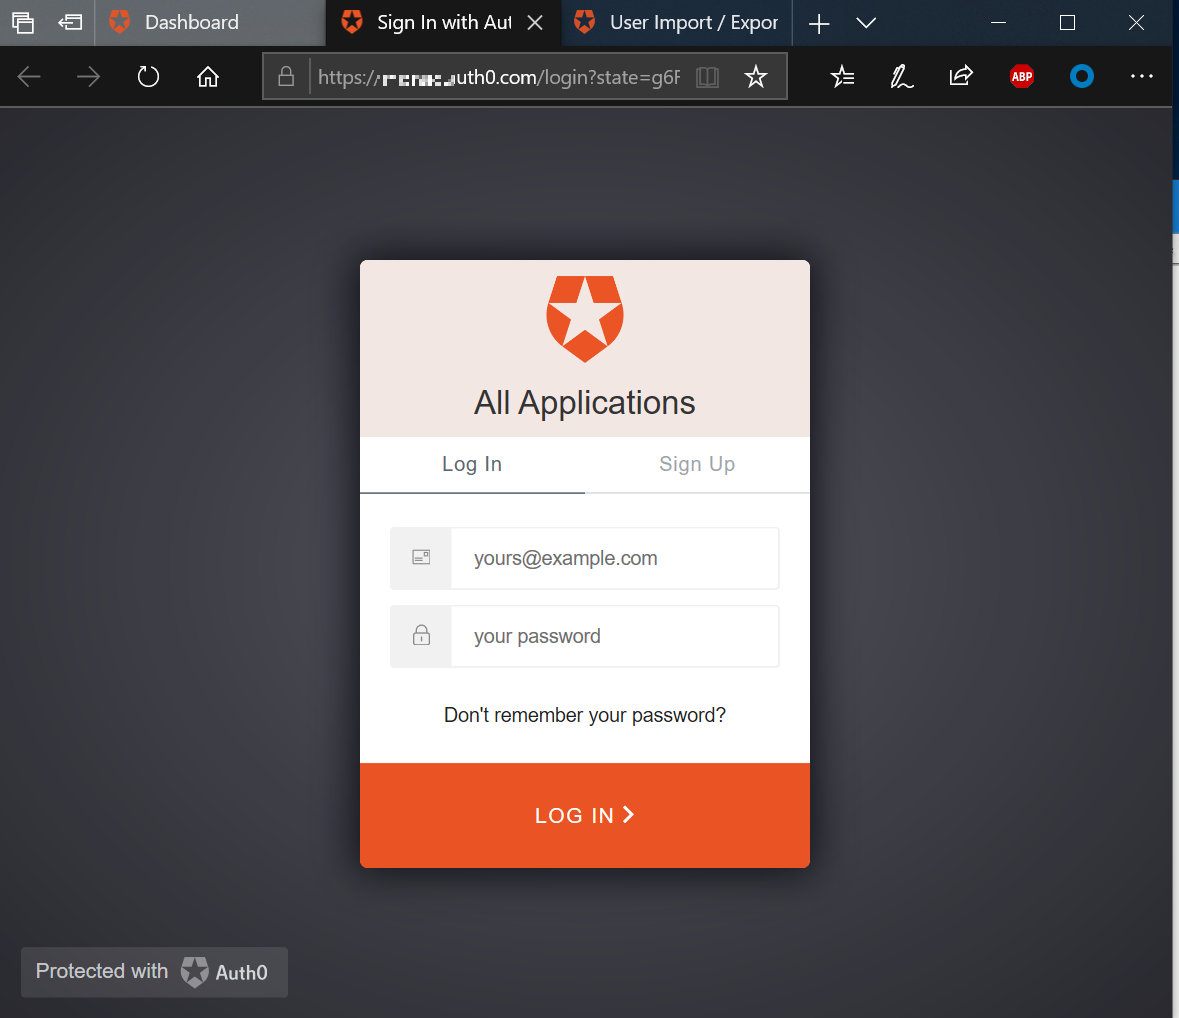
Test it out by going to the login page link and logging in as this new user – you’ve just performed your first Authentication! It’s that easy!
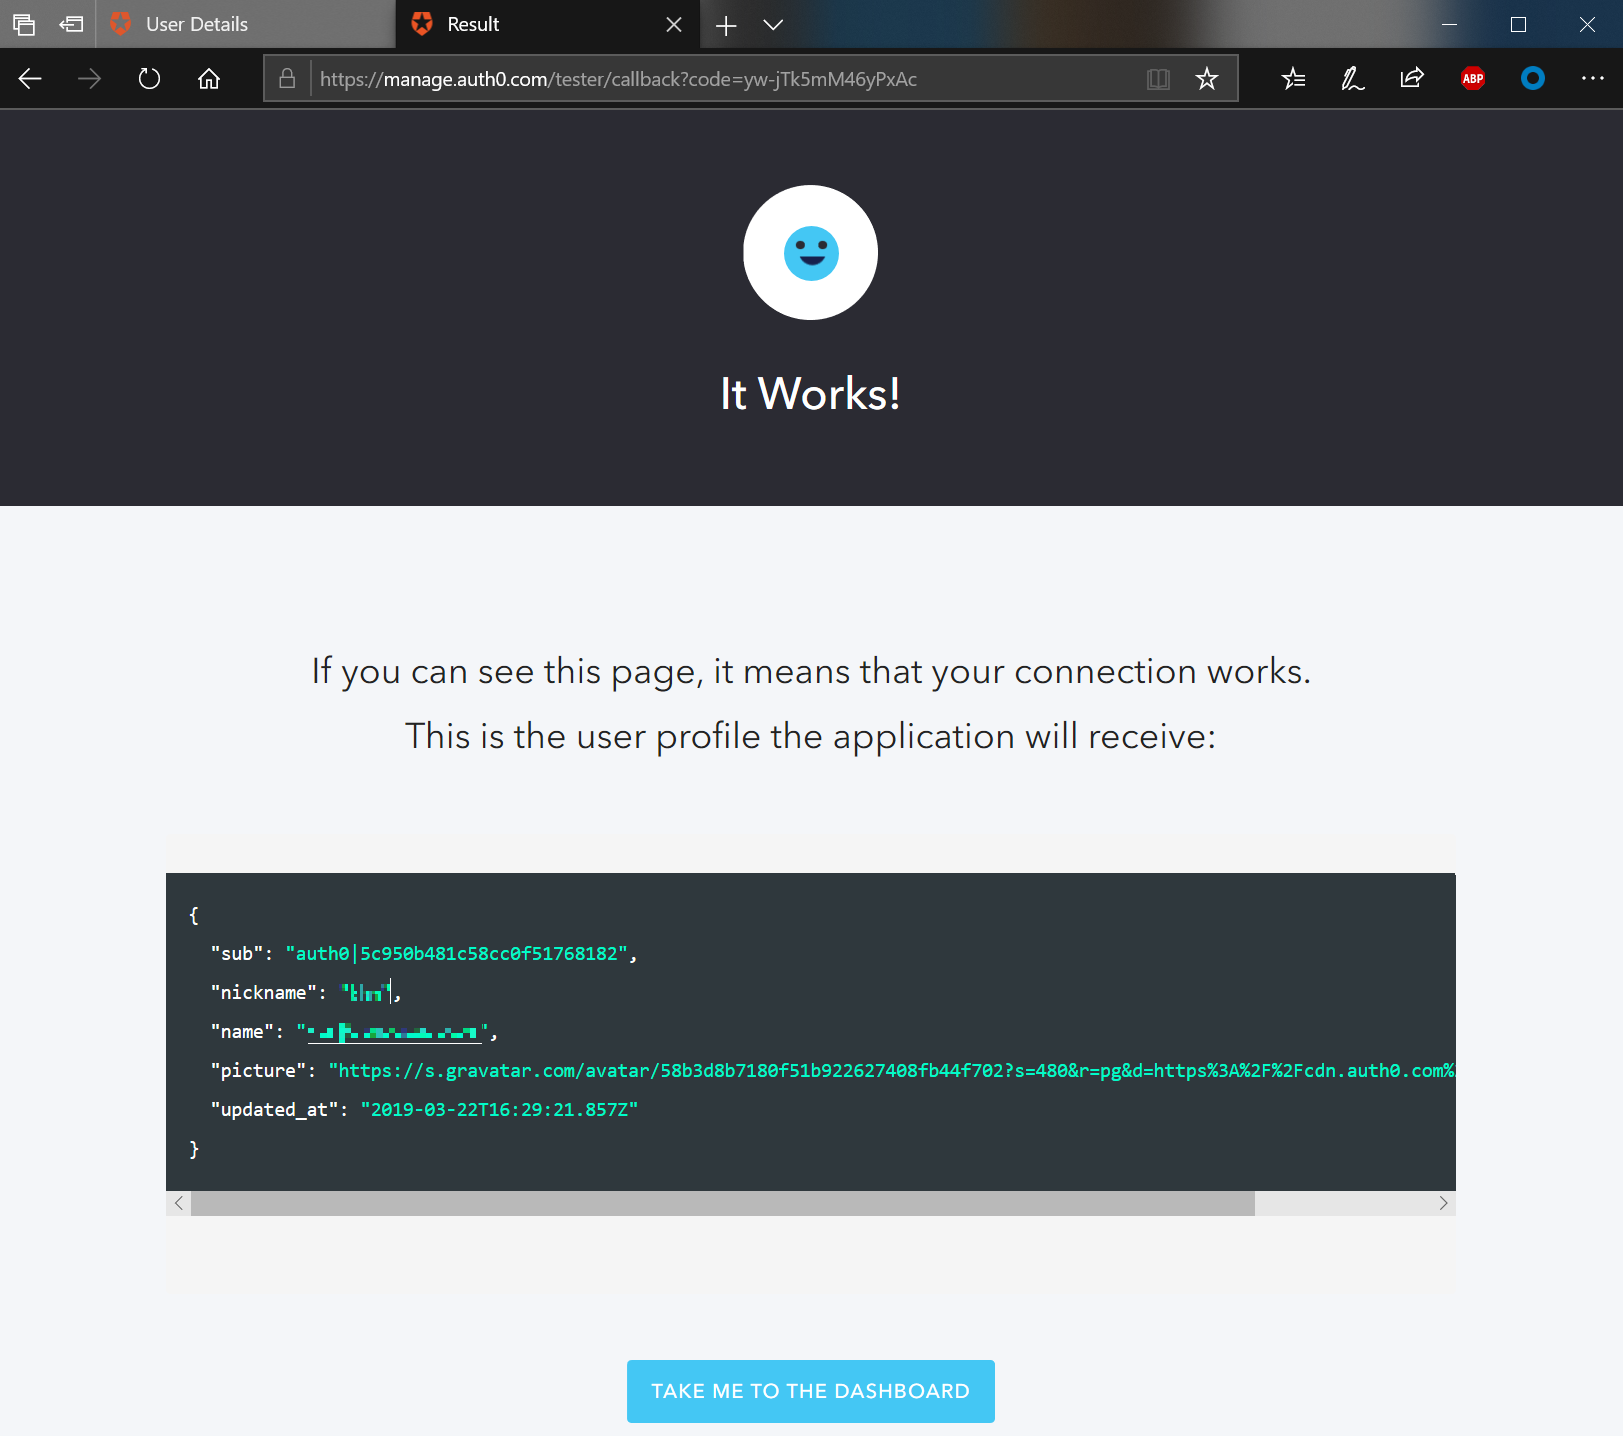
Back on the dashboard you can confirm the login has been processed.

Method: Import/Export
If you have a bunch of accounts, you can bulk import them via a JSON file. Reference: User Import / Export Extension.
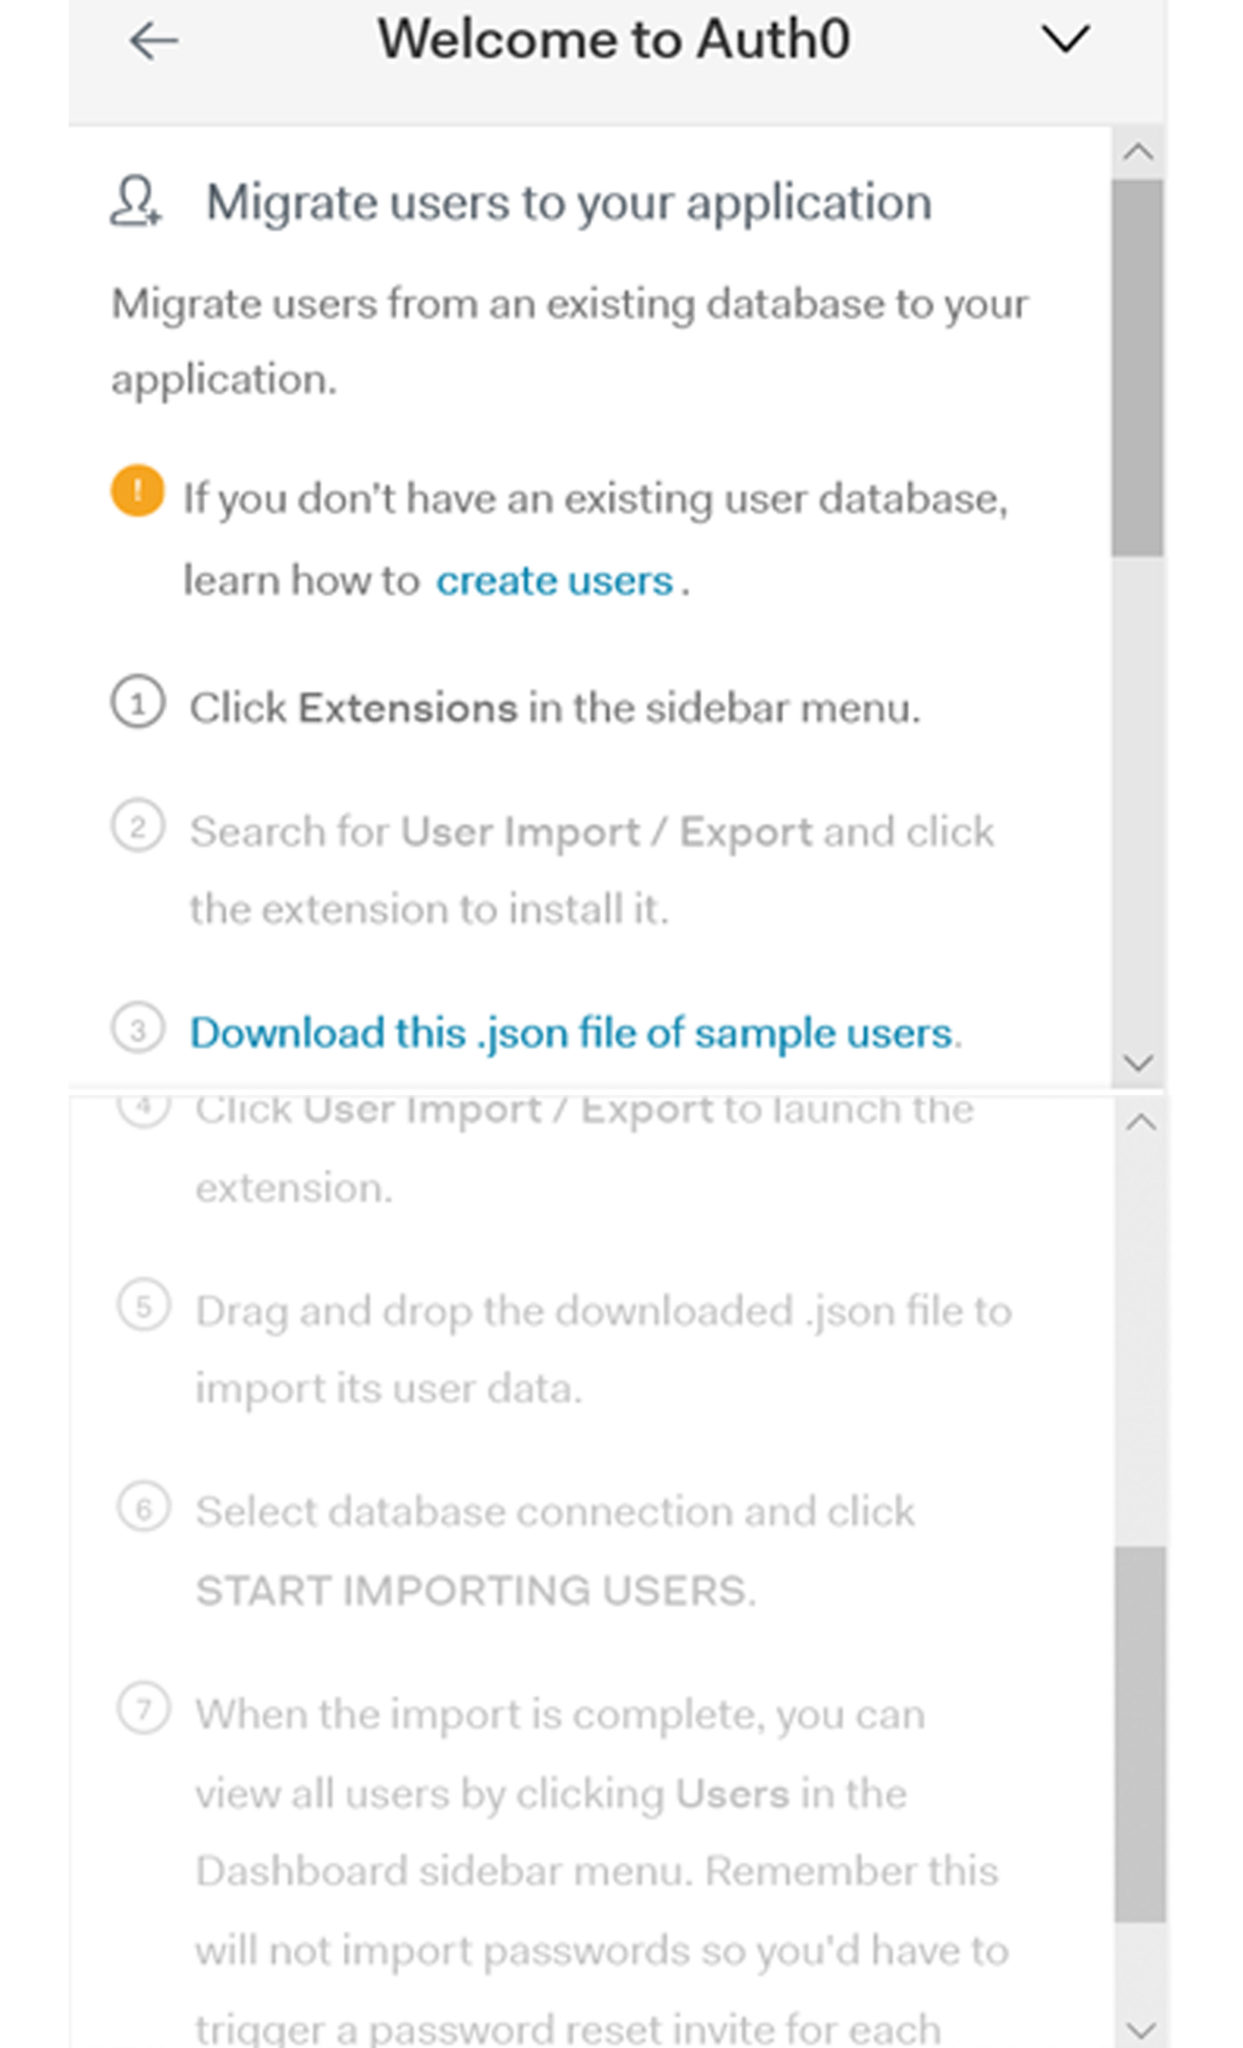
Example JSON file looks like this:

Now that you have some users in Auth0, you’re well on your way to trying out some of the other great features!
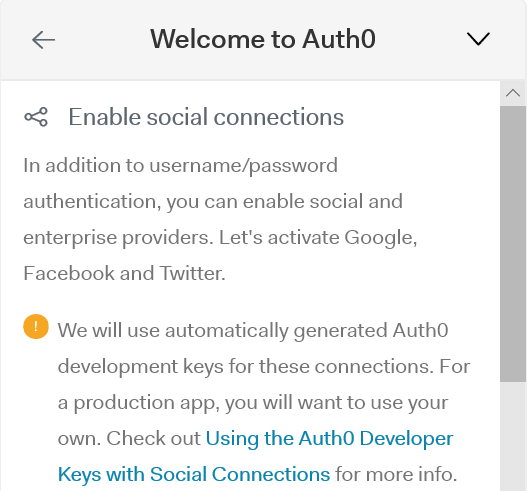
Social Connections
Auth0 has native providers for Microsoft, Facebook, Google and Twitter by default, but there are plenty of others for e-commerce purposes, such as Amazon and PayPal, as shown in the screenshots below. Reference: Test Social Connections with Auth0 Developer Keys.
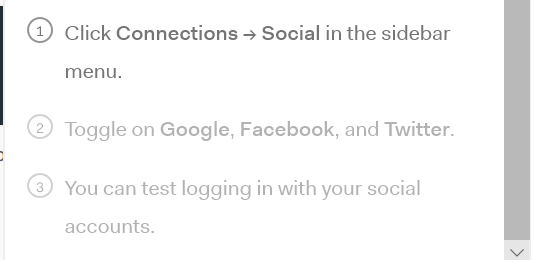
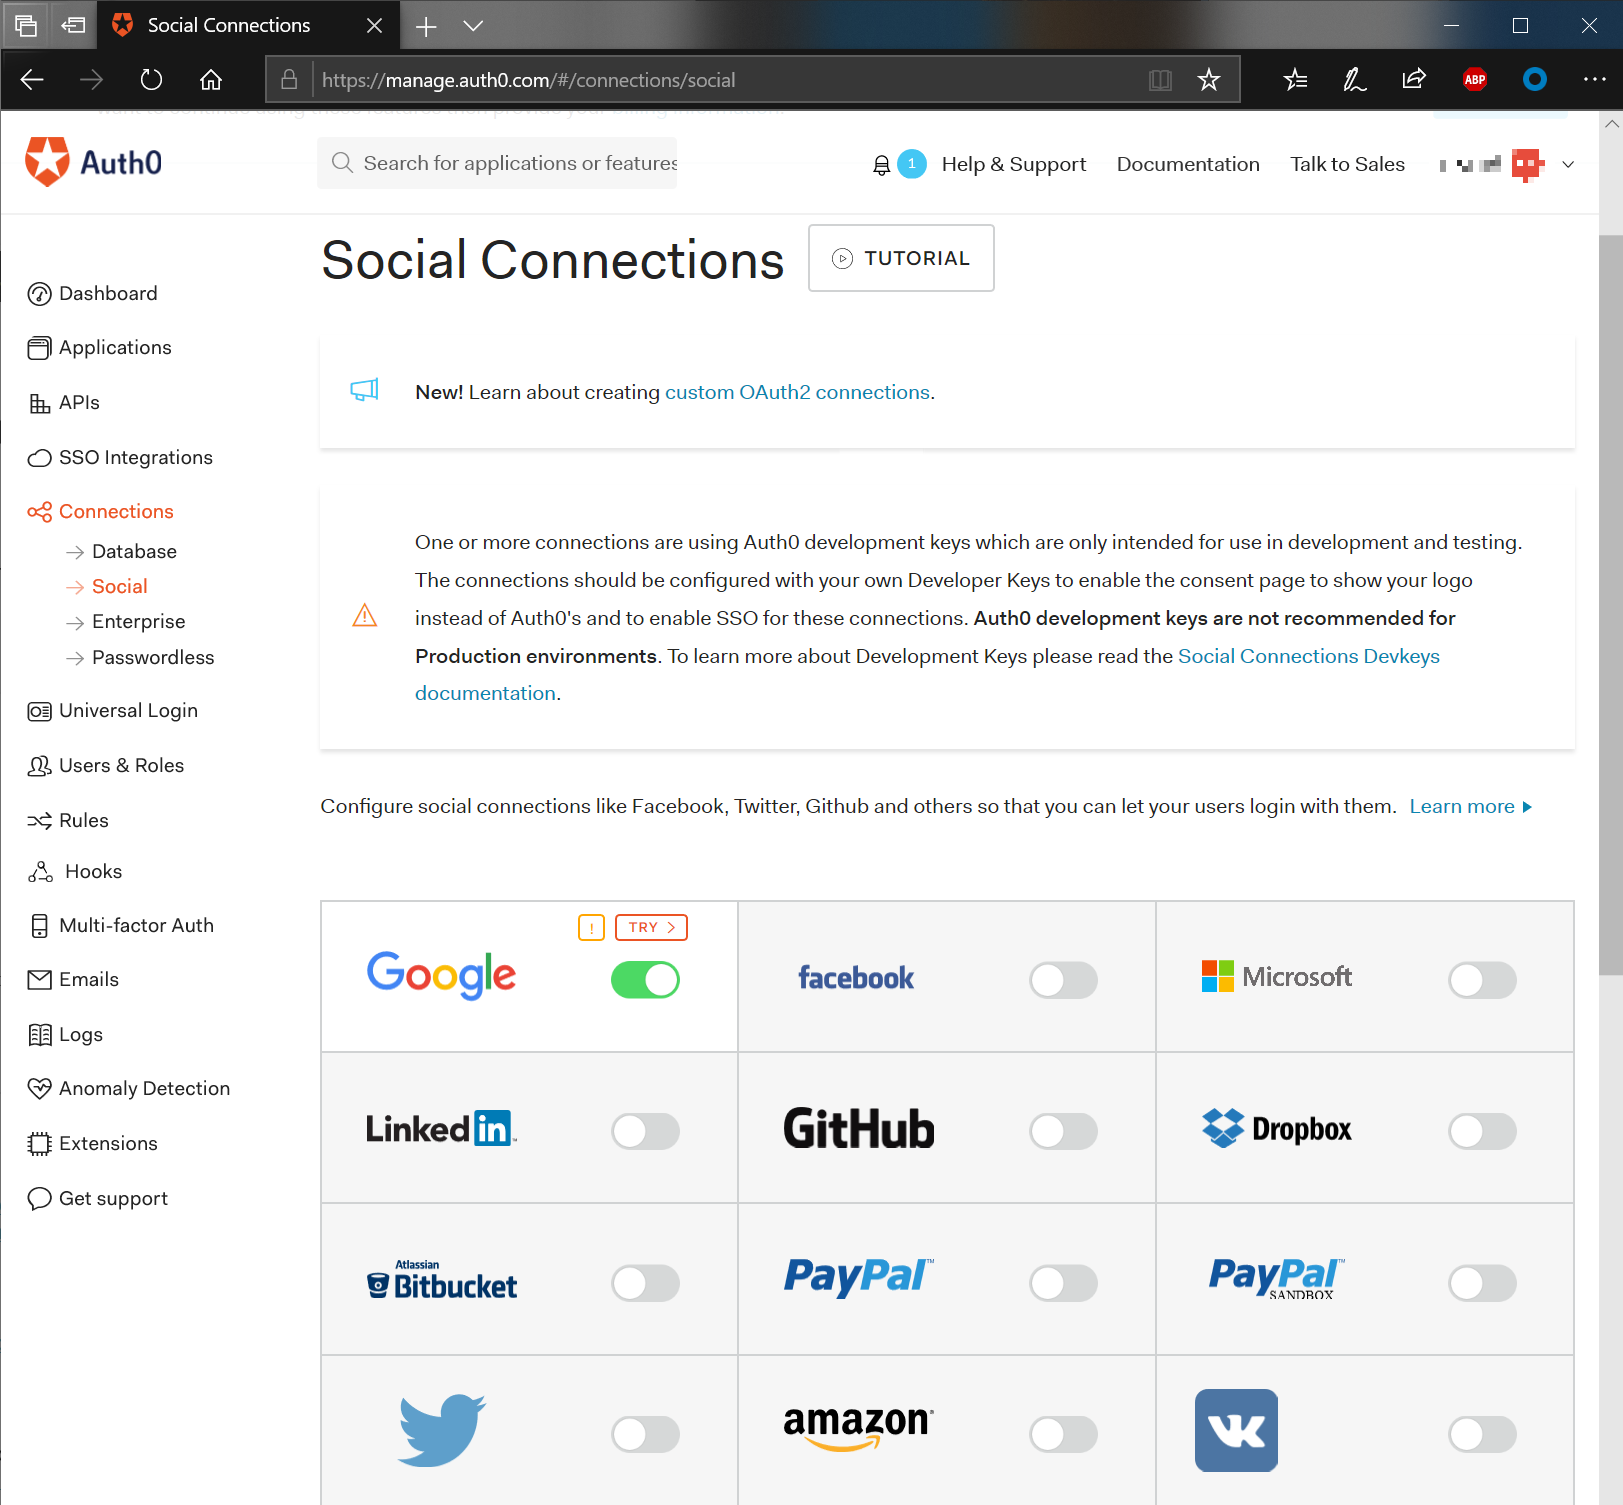
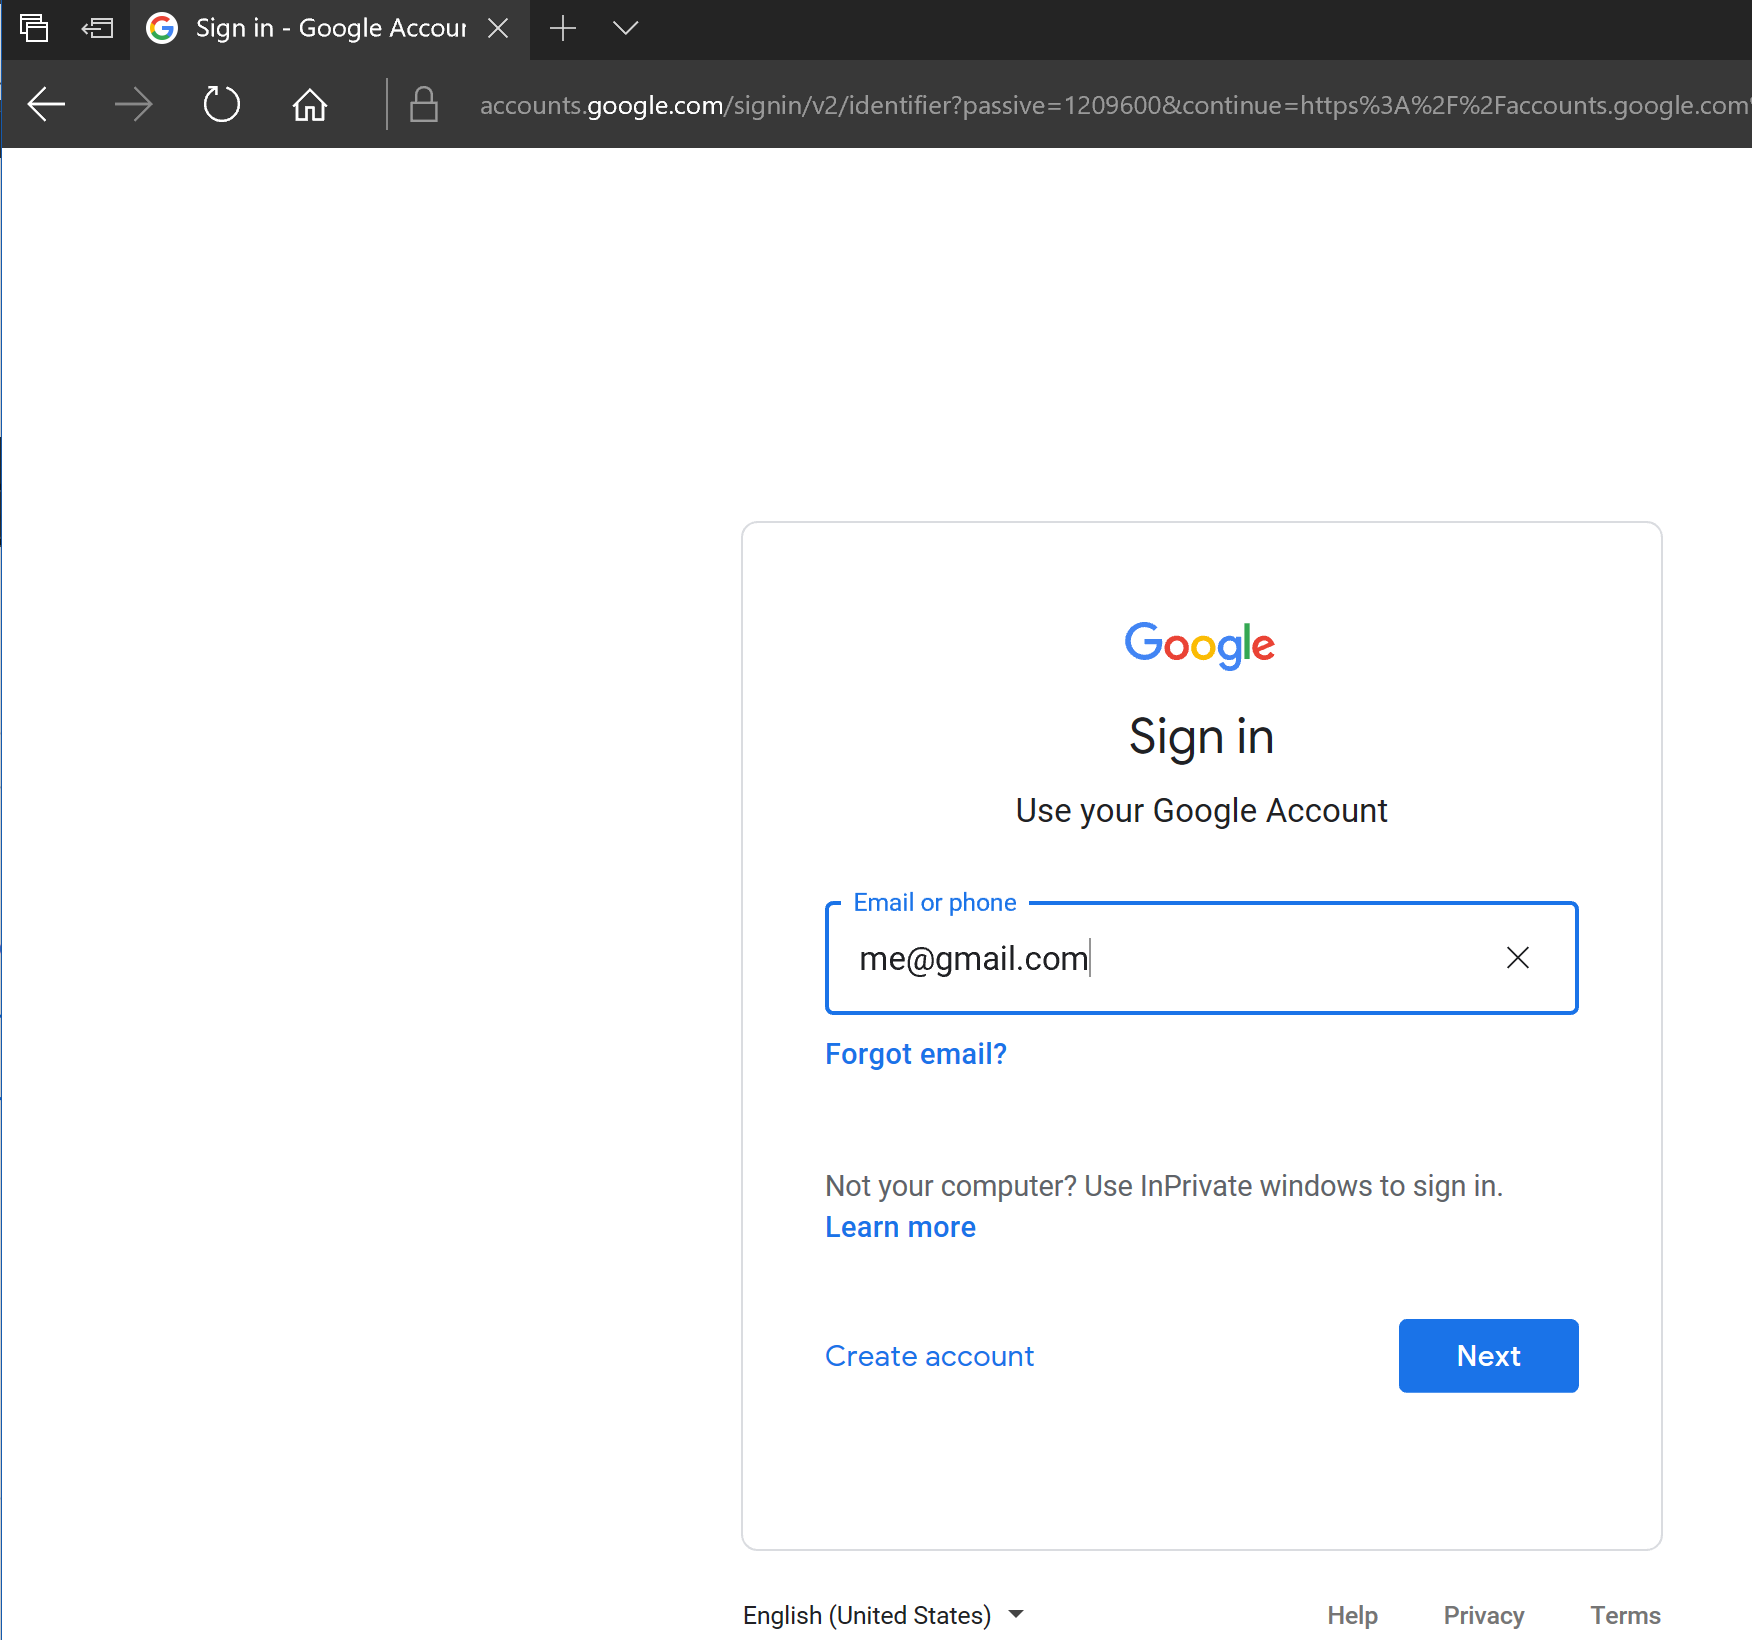
Clicking the “try” button links you to the main Google sign-in page.
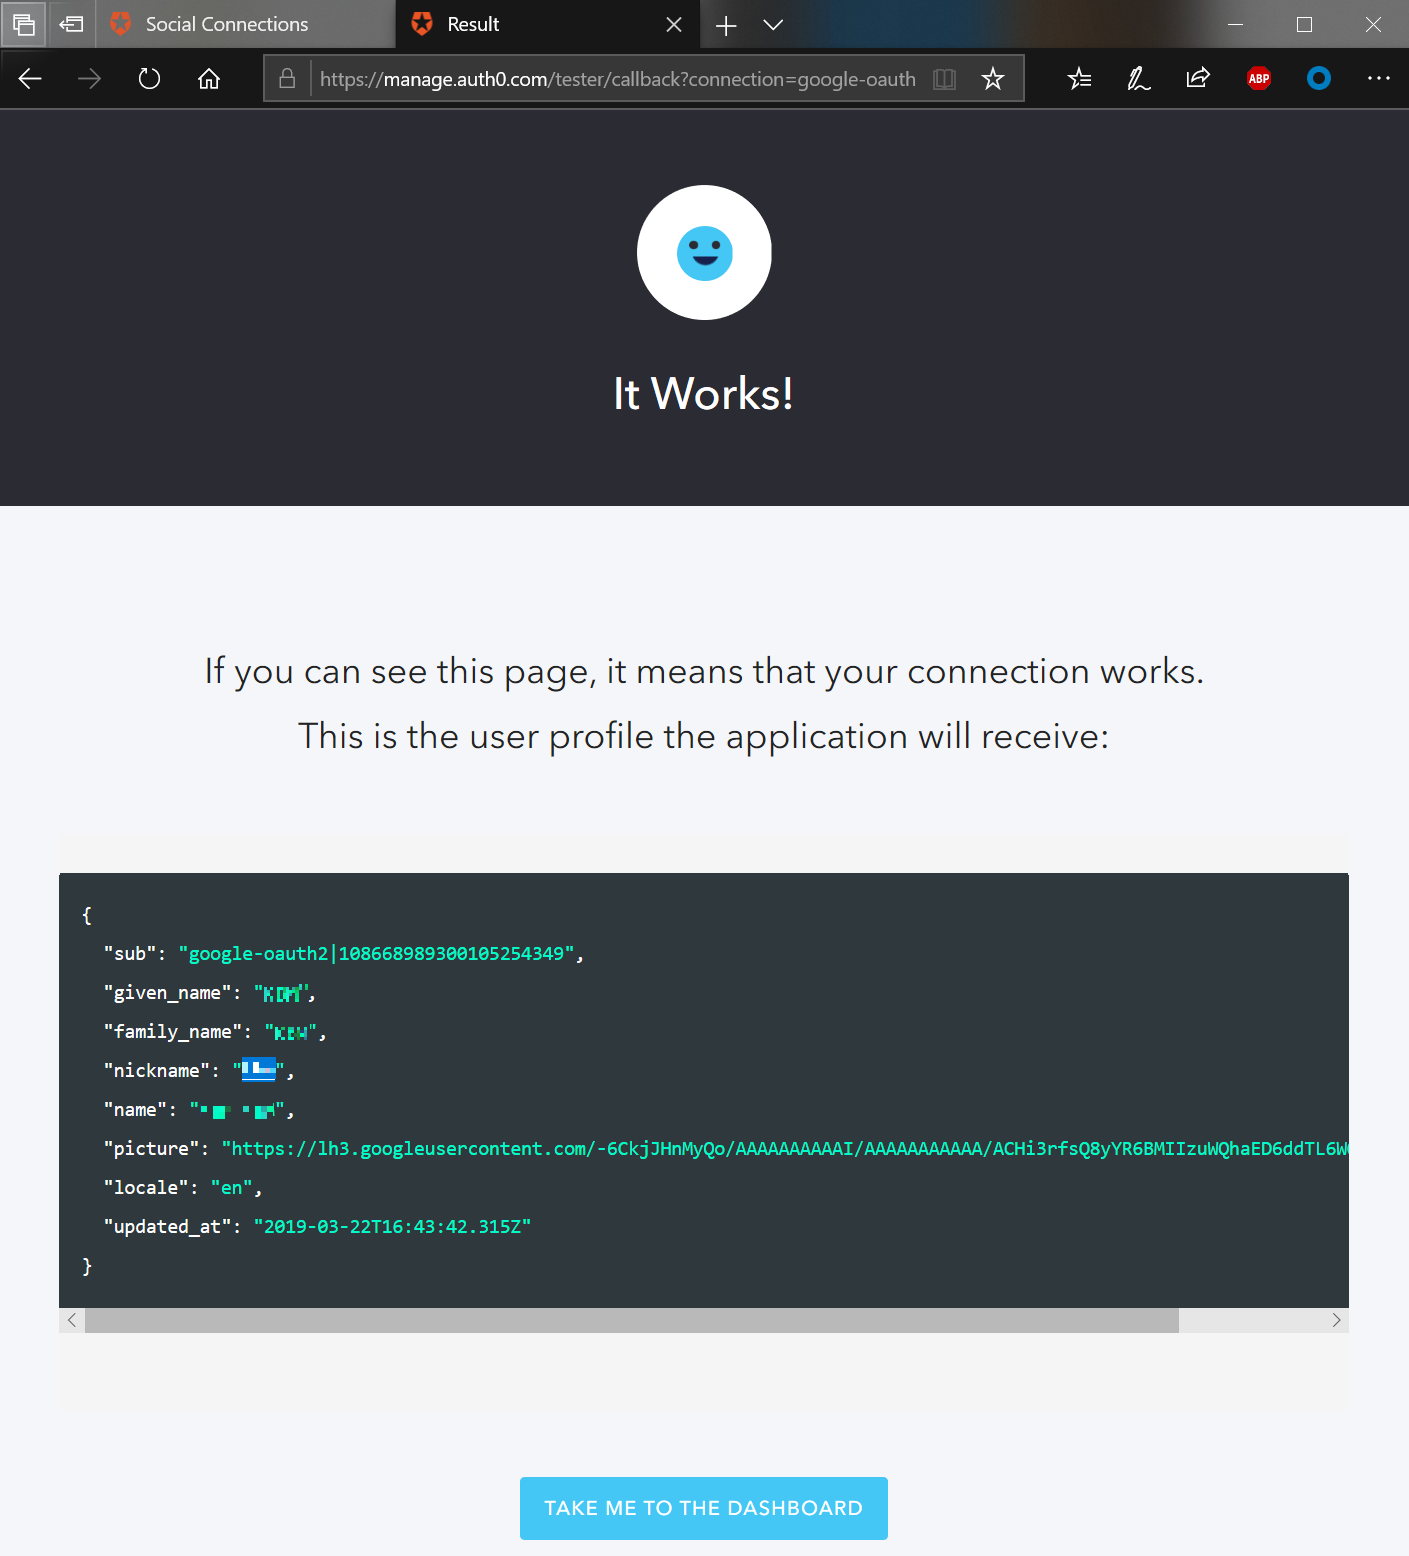
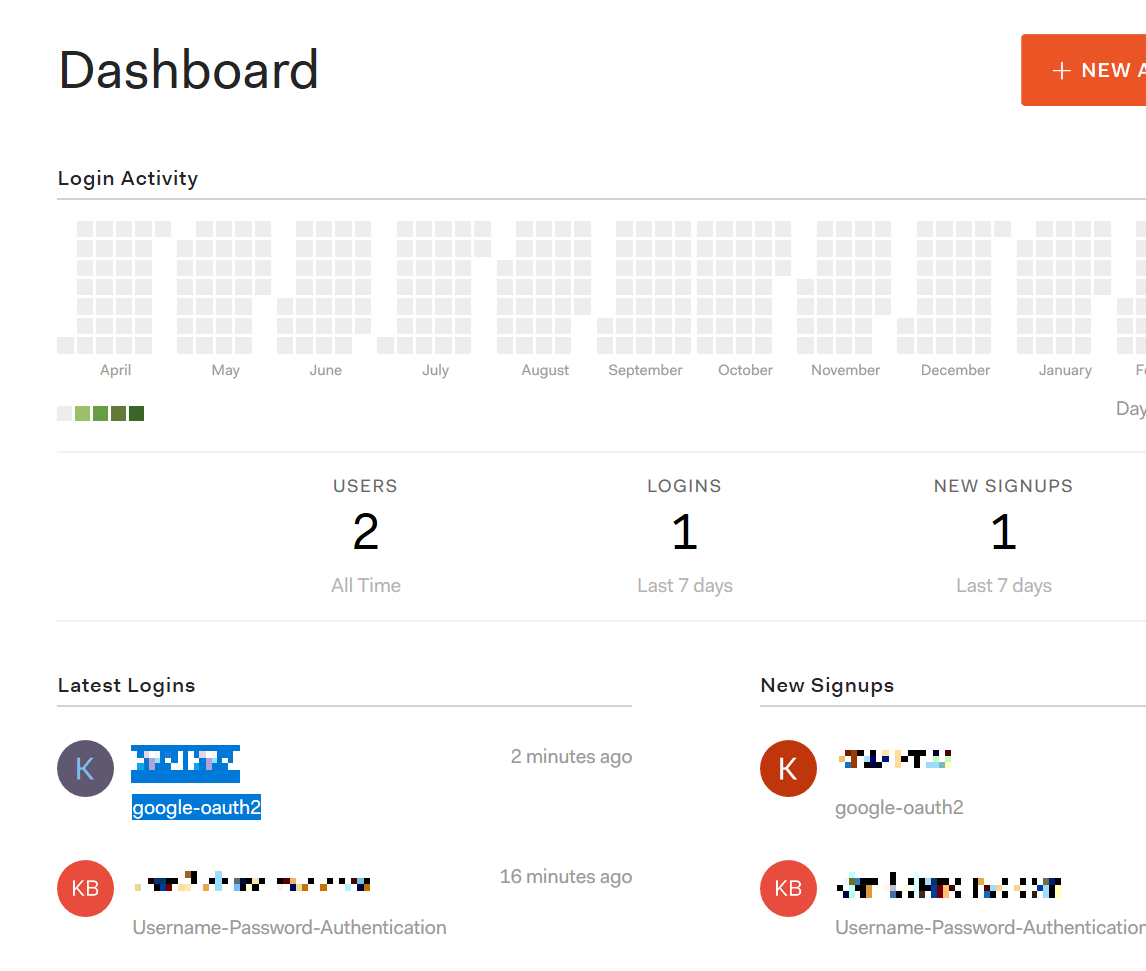
As expected, the new login will be reflected on the dashboard. With this, you can begin hooking your tenant up to the identity stores of almost every major cloud player on the market with minimal effort.
Stay tuned for Part 2, where we’ll complete the getting started tutorial and explore some intermediate features of the Auth0 identity platform. Until then, check out some of the other great BDO Digital blogs.

SHARE